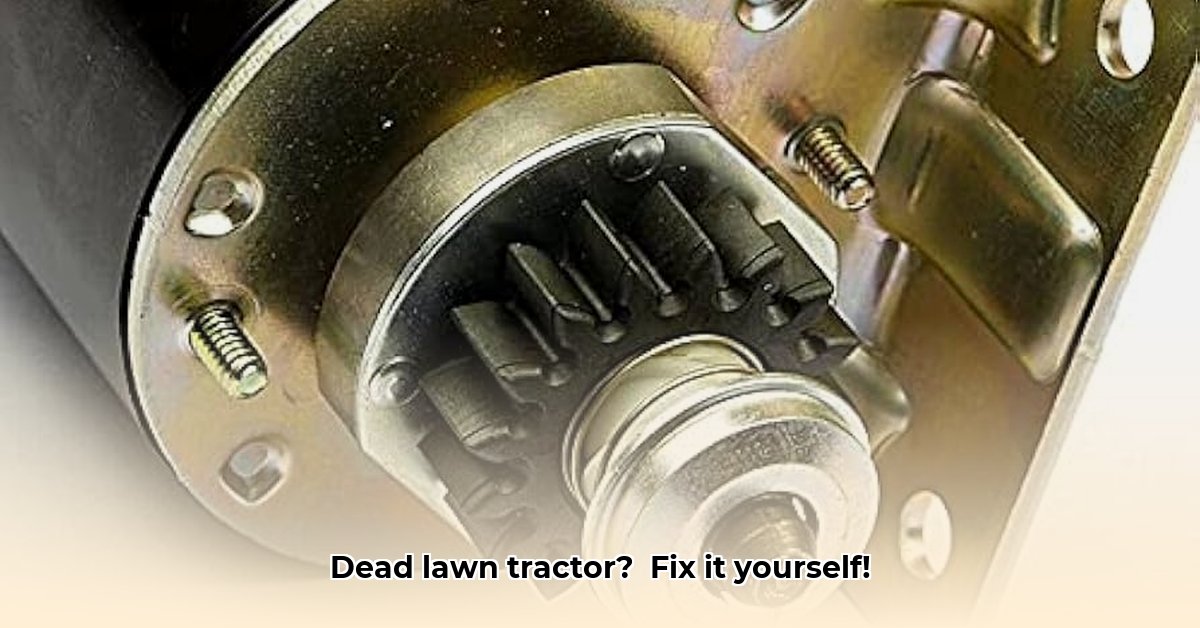
Lawn Tractor Starter Motor: A DIY Guide to Getting Your Mower Running Again
Is your lawn tractor stubbornly refusing to start? That frustrating click or the complete silence when you turn the key is a common symptom of a failing starter motor. This guide provides a step-by-step approach to replacing it yourself, saving you both time and money. Even if you're a complete beginner, these instructions will empower you to tackle this repair. Remember: safety is paramount throughout this process! For more troubleshooting tips, see this helpful resource on Kubota tractor starting issues: Kubota tractor troubleshooting.
Is it Really the Starter? Let's Diagnose the Problem
Before you grab your tools and a new starter motor, let's ensure the problem actually lies with the starter. A non-starting engine can stem from various issues, including a dead battery or corroded connections. First, check your battery. Are the terminals clean and firmly connected? A corroded connection or a weak battery can easily mimic a faulty starter. Try charging the battery; if the tractor starts afterward, you've solved the problem!
However, if your battery is fully charged and you still only hear a click when you turn the key, the starter motor (or its associated solenoid) is the likely culprit. A continuous clicking sound usually indicates a problem with the solenoid, the electrical switch that energizes the starter motor.
Gathering Your Arsenal: Tools and Parts
You will need a few essential tools and parts for this repair. Gather these items before you begin:
- Socket wrench set (metric): Most lawn tractors use metric fasteners.
- Screwdrivers: Both Phillips and flathead may be needed.
- Wire brush: Essential for cleaning battery terminals and starter connections.
- New starter motor: Ensure it's the correct part for your specific lawn tractor model. Check the model number on a sticker on the tractor.
- Safety glasses: Crucial for protecting your eyes from flying debris.
- Work gloves: Protect your hands from grease and sharp edges.
- Owner's Manual: This will guide you to the starter's location and provide specific instructions for your model.
Step-by-Step: Replacing the Starter Motor
Let's get your lawn tractor running again! Remember: safety comes first!
Safety First!: Disconnect the spark plug wire. This prevents accidental engine starting.
Locate the Starter: Consult your owner's manual to pinpoint the starter's location. It’s often under the engine hood or on the side of the engine block.
Disconnect the Wiring: Gently unplug the wires from the old starter motor. Take a picture or make a sketch to remember the correct wiring configuration. Use your wire brush to clean any corrosion from the terminals.
Remove the Old Starter: Use your socket wrench to carefully remove the bolts holding the starter in place. Gently remove the starter.
Install the New Starter: Position the new starter motor, ensuring the mounting holes align. Secure it with the bolts.
Reconnect the Wiring: Carefully reconnect the wires to the new starter motor, referencing your photo or sketch.
Reconnect the Spark Plug Wire: Reattach the spark plug wire.
Test the Repair: Turn the key to start the engine. If it cranks, congratulations! If not, double-check all connections. A loose wire is a common cause of failure.
Troubleshooting: When Things Don't Go as Planned
Even with careful execution, unforeseen issues can occur. Here are some common problems and solutions:
Starter Doesn't Turn: Double-check the battery charge and connections. A faulty solenoid might also be at fault. Replacing the solenoid is simpler than the entire starter motor.
Slow Cranking: A weak battery is the primary suspect. Test and charge, or replace the battery.
Preventative Care: Keeping Your Starter Happy
Preventative maintenance significantly extends the life of your starter motor:
Maintain Battery Charge: Ensure your battery is always properly charged. A low battery strains the starter, reducing its lifespan.
Regular Terminal Cleaning: Clean battery terminals with a wire brush every few months to prevent corrosion.
Adhere to Maintenance Schedule: Follow your owner's manual for regular maintenance, reducing strain on all components.
Is This DIY Project Right For You?
Replacing a starter motor is typically manageable for those comfortable with basic tools and directions. However, if you are uncertain or uncomfortable, calling a professional is always the safer option. A poorly executed repair can lead to more significant costs and safety hazards. A professional mechanic has the expertise and tools for a safe, effective repair.
How to Troubleshoot Briggs & Stratton Starter Motor Problems Before Replacement
Key Takeaways:
- Systematic diagnosis saves time and money.
- Simple checks are often the solution; more advanced issues may require professional assistance.
- Understanding your tractor's symptoms is key for effective troubleshooting.
- Safety is paramount when handling electrical components and batteries.
Before replacing your Briggs & Stratton starter motor, consider these troubleshooting steps:
1. Battery Check: The Power Source
A weak or dead battery is a common cause. Check battery terminals for corrosion, ensure tight connections, and test voltage with a multimeter (should read around 12.6 volts when fully charged).
2. Solenoid Check: The Starter's Switch
Listen for a click when you turn the key. A single click might indicate a faulty solenoid or wiring. Test the solenoid's coil and contacts with a multimeter.
3. Starter Motor Inspection: The Cranking Mechanism
Inspect the starter's gear visually for damage or freezing. Cleaning and lubricating (with lithium-based grease) might resolve minor sticking.
4. Advanced Starter Testing (for experienced individuals only):
This step requires a multimeter and electrical knowledge. Check starter windings, brushes and commutator for damage.
5. Wiring and Connections Check: The Electrical Pathway
Trace all wiring associated with the starter motor and check for damages, corrosion, or loose connections.
6. Engine Obstructions: Beyond the Starter
Check if the engine is seized or obstructed by debris. Try manually turning the engine crankshaft.
Troubleshooting Chart: Diagnosing Starter Problems
| Symptom | Possible Cause(s) | Next Steps |
|---|---|---|
| No crank, no click | Dead battery, bad solenoid, faulty wiring | Check battery voltage, inspect solenoid and wiring for damage. |
| Single click, no crank | Faulty solenoid, bad battery connection | Test solenoid's coil and contacts, check battery terminals. |
| Slow cranking | Weak battery, dirty/worn starter motor | Charge battery, clean and lubricate starter gear, check brushes. |
| Starter spins continuously | Faulty safety switch, wiring problems | Check safety switches, inspect wiring connections, mechanical linkage. |
| Starter spins but no engine | Engine seized, starter gear stripped, damaged flywheel | Check for engine obstructions, inspect starter and flywheel. |